How to Install Wallpaper in a Bathroom: A Comprehensive Guide
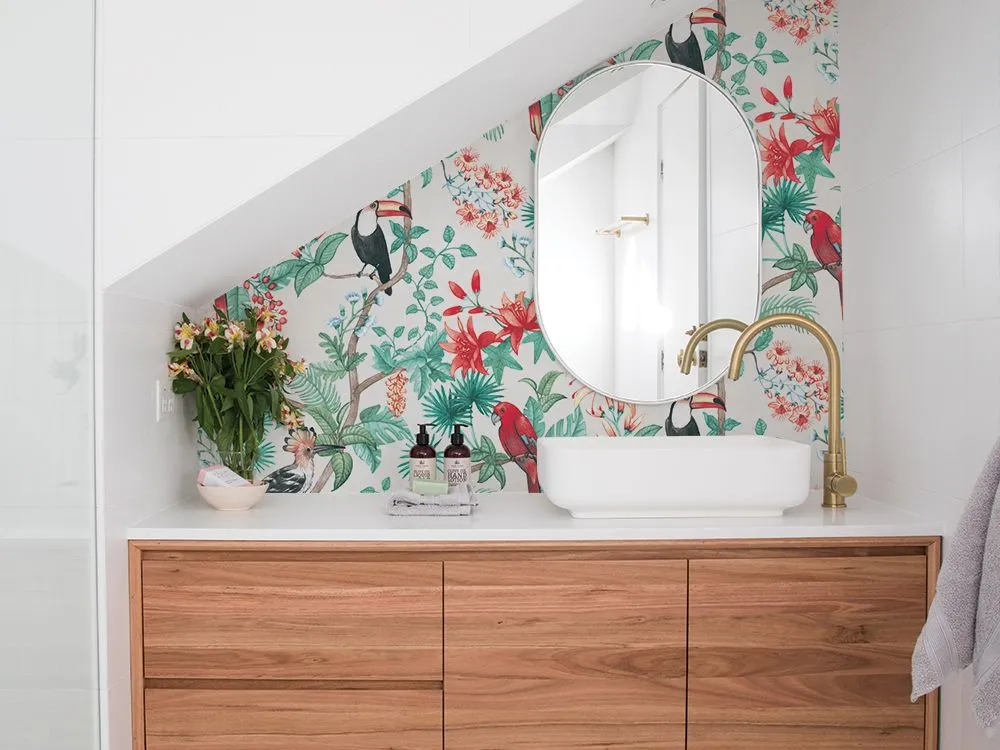
Wallpapering a bathroom can transform a plain space into a stylish and inviting retreat. Although wallpaper is commonly used in living rooms, bedrooms, and hallways, incorporating it in a bathroom requires extra care due to humidity. Here’s a complete, step-by-step guide on wallpapering your bathroom effectively, combining insights from two expert sources.
Step 1: Assess the Space
Before diving into wallpaper installation, take a close look at your bathroom’s environment:
- Ventilation: Is the space well-ventilated, or does it tend to be humid and stuffy? Proper ventilation is essential to ensure your wallpaper lasts longer.
- Size of the Room: A small bathroom, such as a powder room, can benefit from bold wallpaper, turning it into a statement area.
- Water Exposure: Avoid wallpapering areas directly exposed to water, like inside the shower stall. Instead, focus on walls that are less likely to get wet. There are waterproof or washable wallpaper options, but they should still not be exposed to constant water flow.
Step 2: Clean and Prepare the Walls
To achieve a smooth finish and proper adhesion, start by preparing your walls:
- Remove Fixtures: Take down mirrors, towel racks, light switch plates, and any other wall fixtures.
- Clean Thoroughly: Vacuum and wipe down the walls with a damp cloth to remove dust, grime, or toothpaste residue. For deeper cleaning, use a microfiber cloth with isopropyl alcohol.
- Repair Imperfections: Patch any holes or cracks using spackle or patching plaster. Allow it to dry, then smooth the surface with a drywall sanding block.
- Prime the Walls: Apply a wallpaper primer using a paint roller and sash brush. This helps with wallpaper adhesion and also makes future removal easier.
Step 3: Measure and Cut the Wallpaper
Accurate measurements are key to a seamless wallpaper installation:
- Measure the Wall: Use a measuring tape from the ceiling to the baseboards. Add an extra inch to your measurements to allow for trimming.
- Cut the Wallpaper: Transfer the measurements onto the wallpaper, marking a straight line with a pencil and a clear ruler. Cut the wallpaper along the line with sharp scissors.
- Mark Your Starting Point: Determine where to start applying the wallpaper. Use a spirit level to draw a straight vertical line (plumb line) on the wall. This will serve as your guide to ensure the wallpaper is aligned correctly.
Step 4: Apply the Wallpaper
For pre-pasted wallpaper, you’ll need to activate the adhesive:
- Prepare the Wallpaper: Fill a tub or bathtub with water. Submerge the wallpaper, then fold it (known as “booking”) by bringing the glued sides together. Let it sit for the time recommended by the manufacturer.
- Position the Wallpaper: Start from the top, aligning one edge with your pencilled guide line. Gently smooth it down using a wallpaper smoother or brush, working from the centre outwards to remove air bubbles.
- Adjust as Needed: Most pre-pasted wallpaper allows some repositioning. If bubbles or wrinkles appear, carefully peel the section back and smooth it again.
Step 5: Seam Matching and Alignment
As you add subsequent panels, pay attention to pattern alignment:
- Match Patterns: Align the patterns of each panel to ensure a seamless look. Allow a slight overlap (around ½ inch) between panels if needed. Be patient and adjust until the design lines up perfectly.
- Work Carefully Around Fixtures: For areas around light switches, outlets, or cabinetry, “dry fit” the wallpaper first. Mark where cuts are needed and trim with sharp scissors. Always double-check your measurements.
Step 6: Trim Excess and Finish Up
Now it’s time to give your wallpaper a polished look:
- Trim Edges: Use a metal straight edge and a sharp utility knife to trim excess wallpaper at the ceiling, baseboards, and corners. Always use a fresh blade to avoid tearing the paper.
- Smooth the Surface: Once the wallpaper is in place, go over it again with a smoother to ensure all bubbles are removed. Wipe the surface with a damp cloth to clean any remaining adhesive.
- Reinstall Fixtures: Allow the wallpaper to dry completely before replacing switch plates, towel bars, and other fixtures.
Additional Tips for a Successful Bathroom Wallpaper Project
- Choose the Right Wallpaper: Opt for washable or moisture-resistant bathroom wallpaper. Vinyl wallpapers are often a great choice because they can withstand humidity better than paper-based options.
- Use Two People for Large Panels: Hanging wallpaper can be tricky, especially in a room with high ceilings. Having an extra set of hands can make the process smoother.
- Consider Removable Wallpaper: Removable peel-and-stick wallpaper is a great alternative if you’re renting or like to switch up your decor frequently.
Recommendation
How To Replace A Shower Handle
Small Toilet Ideas – 50+ Best Toilet Designs
How to Install a Shower Drain?
Why Your Toilet Won’t Flush? Main Causes And Solutions
Conclusion
In conclusion, adding wallpaper to your bathroom can turn it into a stylish and cozy space. By choosing the right wallpaper, preparing the walls well, and following each step carefully, you can achieve a beautiful finish that lasts. Be sure to use moisture-resistant wallpaper and keep the room well-ventilated to protect your work. With a little patience, your bathroom can become a unique and inviting place you’ll love.
FAQs
Q: Can I hang wallpaper in a bathroom?
A: Yes, A well-ventilated bathroom can handle wallpaper without any issues. Just make smart design choices to avoid areas that might get too wet.
Q: How do you get wallpaper to stick to the bathroom?
A: Fill any holes with patching plaster or spackle using a putty knife. Let it dry, then sand it smooth with a sanding block. Once the wall is clean and even, use a roller and brush to apply wallpaper primer. This helps the wallpaper stick well and makes it easier to remove later.
Q: What type of wallpaper is best for a bathroom?
A: Vinyl wallpaper is water-resistant, so it’s a good choice if you’re looking for bathroom wallpaper that can handle moisture. While it’s not ideal for shower walls, you can use peel-and-stick or regular wallpaper on other bathroom walls, like behind mirrors. Wallpaper can also be applied over bathroom tiles.
Q: Will wallpaper peel in the bathroom?
A: Usually, bathroom wallpaper won’t peel off any faster than in other rooms. Most bathrooms have a fan that removes moisture quickly. In newer homes with stronger fans, the moisture is gone within seconds.

