
How to Replace a Toilet Flapper: A Simple Guide to Fixing Leaks and Saving Water
A toilet flapper may seem like a small and unimportant part of your toilet, but it plays a big role in how well your toilet works. It controls the flow of water from the tank to the bowl when you flush.
Over time, the flapper can wear out, leading to leaks that waste water and increase your water bills. In this article, we’ll explore what a toilet flapper is, how it works, and why it’s important to maintain or replace it regularly.
What is a Toilet Flapper?
The flapper is a small, usually rubber, part inside your toilet tank. It’s the key component of the flush valve, responsible for holding water in the tank and releasing it when you flush.
Why Check Your Flapper?
Over time, flappers can wear out due to exposure to cleaning products and chemicals in the water supply. It’s a good idea to check your flapper at least once a year to ensure it’s still creating a tight seal over the flush tube. A worn-out flapper can cause leaks, wasting water and driving up your water bill.
How Much Water Can a Leaky Flapper Waste?
A leaky flapper can waste a surprising amount of water. Depending on the severity of the leak, a warped or poorly fitting flapper could waste up to 200 gallons of water every single day. This can add up to hundreds of dollars to your annual water bill.
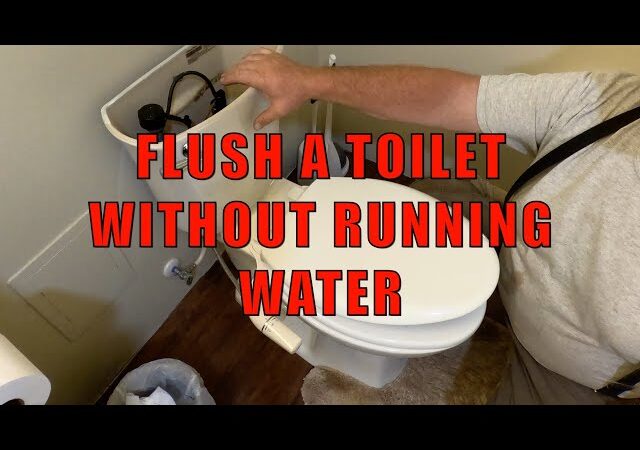
Replacing Your Toilet Flapper
Here’s how to quickly and easily replace your toilet flapper:
Turn off the water
Locate the water shut-off valve behind the toilet bowl, usually below the tank. Close it. If you can’t find a valve or it’s stuck, you might need to turn off the main water supply to your house.
Flush and take note.
Flush the toilet to empty the tank. Before you do anything else, check how long the chain is that connects the flush handle to the flapper. This will help you set up the new flapper correctly.
Disconnect the refill tube (if applicable)
Some flappers are connected to a circular ring around the overflow tube. If yours is, gently detach the small refill tube from the overflow tube. If not, skip to the next step.
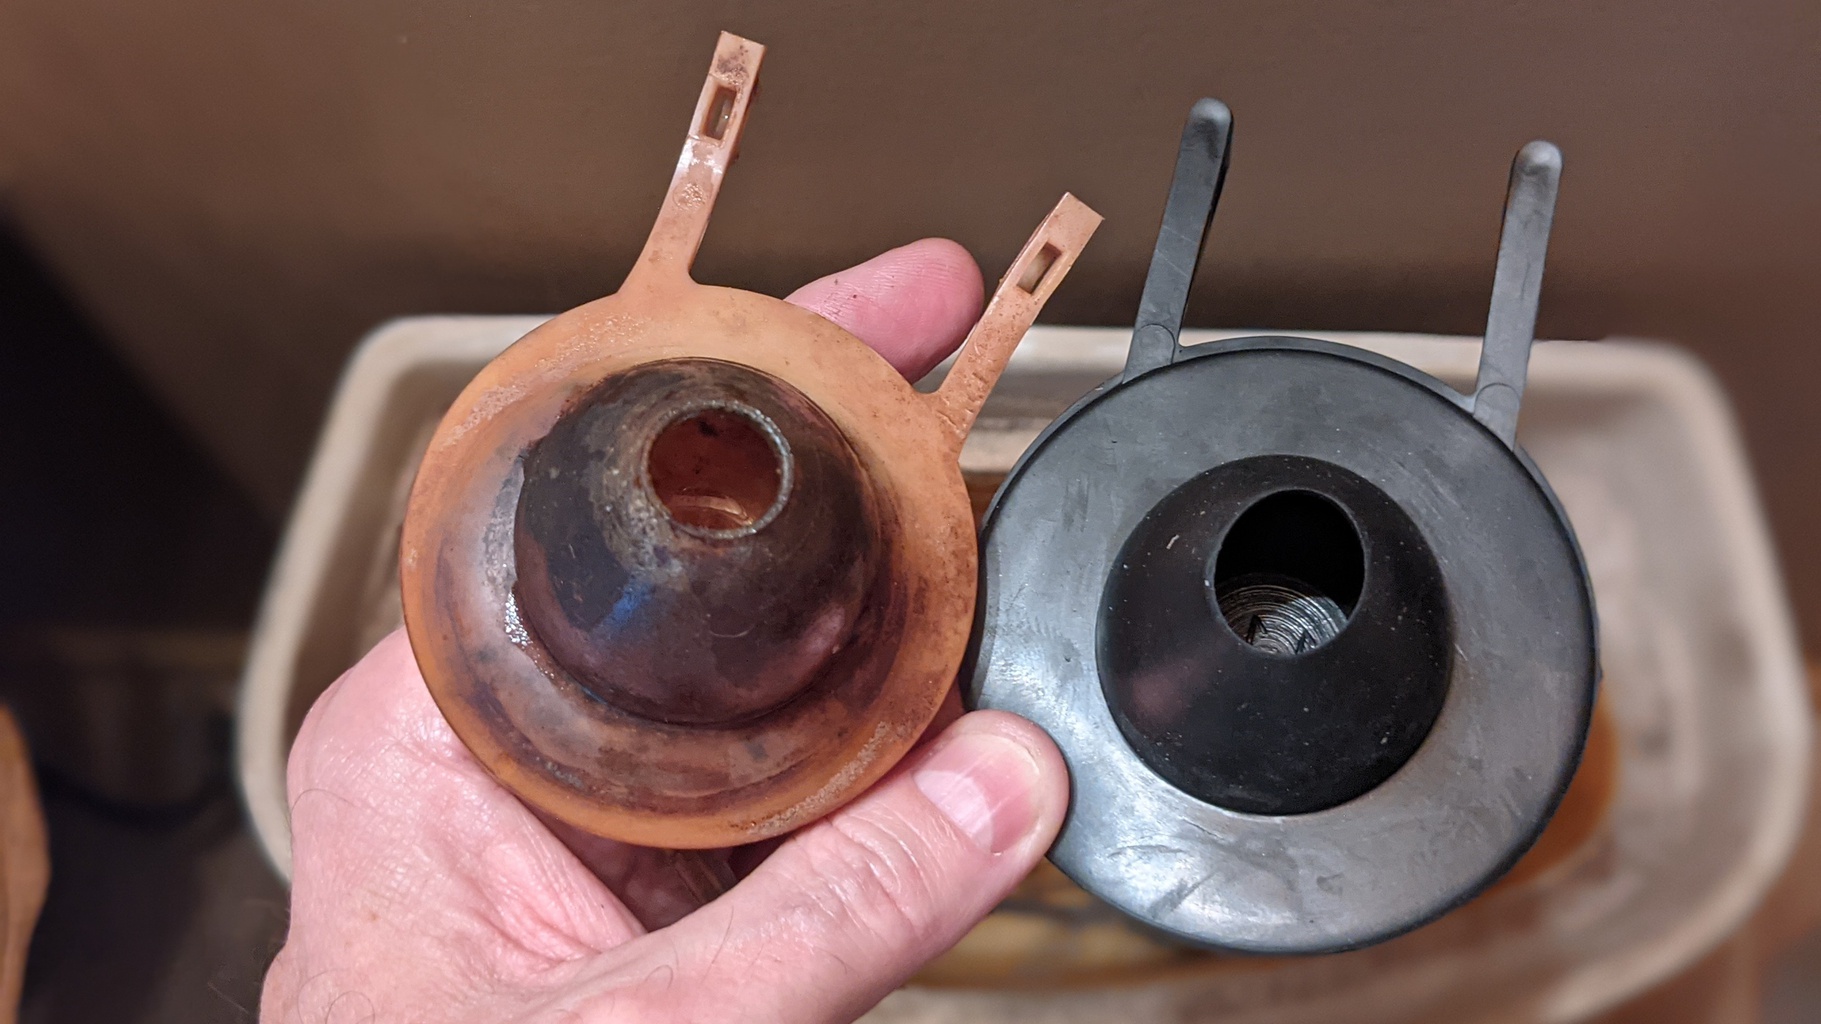
Remove the old flapper.
Detach the chain from the flush lever. Now, you can remove the old flapper. It usually slides up and off the overflow tube. Some flappers have “ears” that hook onto the tube; you’ll need to unhook those. If you have a newer plastic flush valve, the ears might need to be carefully bent outwards to come off the pins.
Identify your toilet
Jot down the manufacturer’s name (often found stamped on the outside of the bowl near the seat hinges) and the model number (usually on the inside back of the tank).
Head to the store
Take the old flapper and the information you gathered to a plumbing supply store or home improvement centre. They should have replacement flappers.
Finding the right flapper
If your toilet uses 1.6 gallons per flush, the store should be able to recommend the correct replacement flapper, including any settings for adjustable flappers. Expect to pay between $2 and $10 for a new flapper. While you’re there, grab a new beaded metal flapper chain too.
Install the new flapper.
Slide the new flapper down and over the overflow tube until the ring rests against the bottom of the tank, making sure the flapper bulb is centred over the valve opening. If you have a plastic valve, you’ll likely need to cut off the ring along the marked lines and slip the flapper ears onto the pins of the flush valve.
Reconnect the chain
Attach the chain to the flush lever, adjusting the length as needed (remember the length you noted earlier?).
Test it out
Slowly turn the water supply valve back on. Let the tank fill, then flush to make sure the flapper opens, closes, and seals properly.
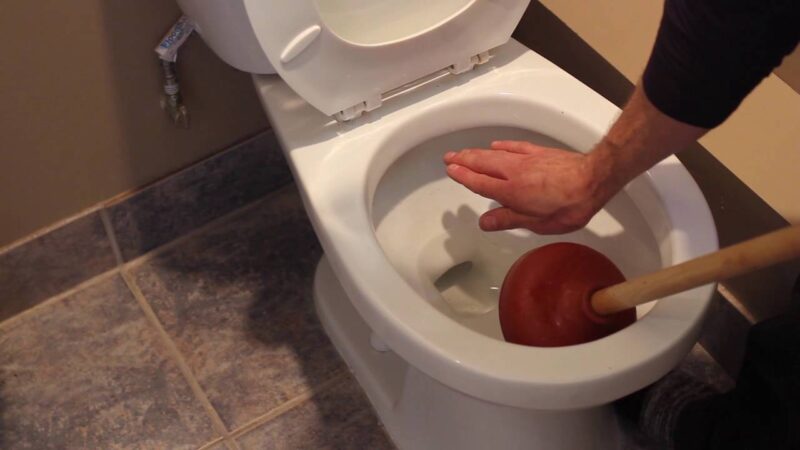
Is Your Toilet Running?
A constantly running toilet can be a real head-scratcher. Figuring out where the leak is coming from requires a little detective work.
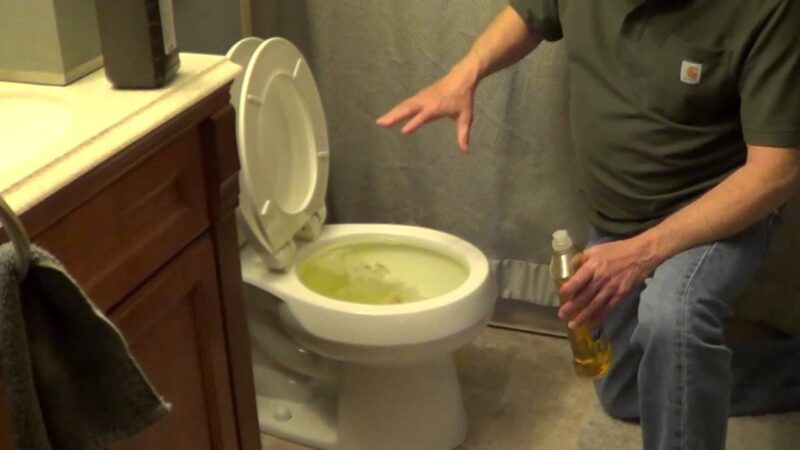
Flapper Check
A common culprit for leaks is the flapper. To see if yours is the problem, add a teaspoon of food colouring or a dye tablet to the toilet tank. Wait about 15 minutes. If you see the coloured water seeping into the toilet bowl, you’ve likely got a leaky flapper.
Low-Flow Doesn’t Mean Leak-Free
Thinking you’re saving water with your ultra-low-flow toilet? Think again if it’s leaking, Any water savings you’d expect from a low-flow model are completely negated by a leak, big or small.
What is an American Standard Toilet Flapper?
An American Standard toilet flapper is a key component in the flushing mechanism of your toilet. Positioned at the bottom of the toilet tank, the flapper covers the flush valve opening.
When you press the flush handle, the flapper lifts, allowing water from the tank to flow into the bowl. After the flush, the flapper closes to stop the water and allow the tank to refill.
American Standard offers a range of flappers designed for their toilet models, with variations in size (such as 2-inch or 3-inch) and material (rubber or plastic).
Replacing a worn or damaged flapper is essential to maintaining an efficient flush and preventing water wastage from constantly running.
Water Conservation Tips: Your Home’s Biggest Water User
We all need water for things like showers, laundry, and dishes, but the amount we use can add up. The good news is, you have a lot of control over your water consumption at home.
Toilets are often the biggest water users in a household, but they’re also one of the easiest places to save. Keeping your toilet in good working order is key to conserving water.
Besides checking the flapper and chain regularly, make sure the handle isn’t sticking after you flush. A stuck handle means continuous water flow, which wastes a lot of water.
Fix or replace a sticking handle immediately. Also, avoid using your toilet as a trash can. Each flush uses a significant amount of water – anywhere from 1.6 to 6 gallons, depending on your toilet model.
Recommendation
How To Replace A Bathroom Sink?
Why Your Toilet Won’t Flush? Main Causes And Solutions
Small Toilet Ideas – 50+ Best Toilet Designs
Conclusion
The toilet flapper is a vital component in your toilet’s flushing system. Keeping it in good condition ensures that your toilet works efficiently, prevents unnecessary water wastage, and saves you money on your water bill.
Regularly checking and replacing a worn-out flapper is a simple yet important maintenance task that can make a big difference. So, take care of your flapper, and your toilet will keep running smoothly for years to come.
FAQs
Q1: How do I replace a toilet flapper?
A1: To replace a toilet flapper, turn off the water supply, drain the tank by flushing the toilet, and remove the old flapper. Then, install the new flapper, attach the chain to the flush handle lever, and turn the water supply back on. Test by flushing to ensure everything works.
Q2: How do I change a toilet flapper?
A2: To change the toilet flapper, first turn off the water supply and drain the tank by flushing. Remove the old flapper from the flush valve and detach the chain. Attach the new flapper to the valve, reconnect the chain, and turn the water back on. Test by flushing to check the new flapper’s function.
Q3: How do I replace the flapper in my toilet?
A3: Replacing the flapper involves turning off the water supply, draining the tank, and removing the old flapper. Install the new one by connecting it to the flush valve and attaching the chain to the flush handle lever. Turn on the water supply and flush to make sure everything works properly.
