
DIY Outdoor Kitchen Countertops: A Step-by-Step Guide
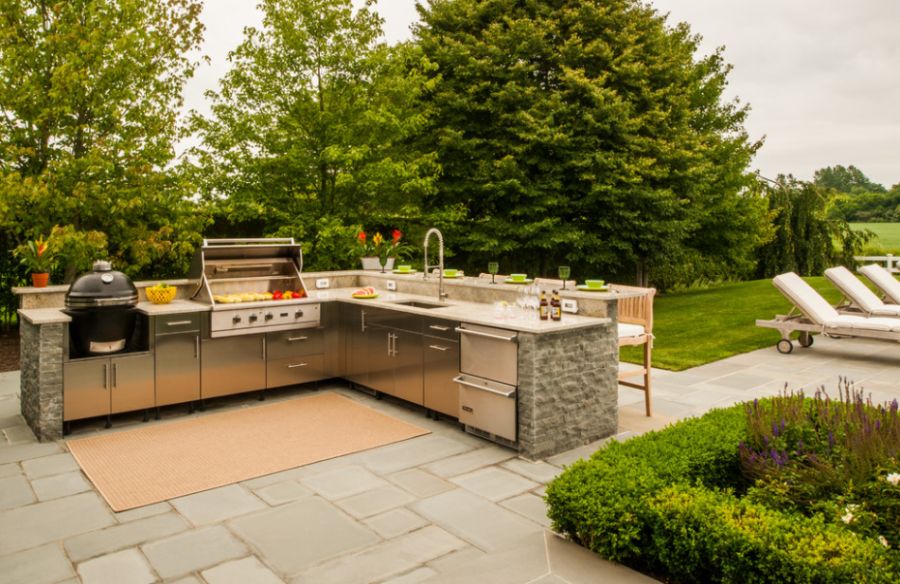
Creating a DIY concrete countertop for your outdoor kitchen is a fantastic way to add durability, style, and functionality to your space. DIY outdoor kitchen countertops made from concrete offer a modern, sleek look and are known for their heat and weather resistance, making them perfect for outdoor kitchens.
This guide will walk you through the process of creating stunning concrete countertops for your outdoor kitchen with easy-to-follow instructions.
Why Choose Concrete for Your Outdoor Kitchen Countertops?
Concrete is a popular choice for DIY outdoor kitchen countertops because of its versatility, strength, and customization options. It can be molded into any shape and finished in a variety of ways, from smooth and polished to rough and rustic.
Whether you’re looking for a contemporary style or a more industrial look, concrete is a great material to work with. Plus, it’s heat-resistant and weatherproof, making it ideal for outdoor cooking spaces.
Why DIY Outdoor Kitchen Countertops?
- Cost-Effective: By doing it yourself, you save on labor costs and have more control over the budget.
- Customization: You can choose your preferred material, color, and style to suit your outdoor kitchen’s overall theme.
- Satisfaction: Completing a DIY project adds a personal touch to your outdoor space, giving you pride in your work.
Why Choose a DIY Outdoor Kitchen Countertop?
When it comes to DIY outdoor kitchen countertops, there are several materials to consider. Each offers its own set of advantages, so choose one that best suits your needs, climate, and aesthetic preferences.
Tile Countertops
Tile is one of the most popular DIY countertop options due to its affordability, ease of installation, and variety of styles. It’s easy to clean, and you can choose large or small tiles depending on the look you want. Plus, it’s ideal for DIYers because tiles are easy to handle.
Pro Tip: Opt for larger tiles to minimize grout lines, making cleanup easier.
Concrete Countertops
Concrete offers a durable, modern look for outdoor kitchens. It’s heat-resistant, easy to maintain, and can be customized with various stains or textures. While pouring concrete countertops requires more effort, it’s a great option if you want a more industrial or sleek appearance.
Wood Countertops
Wood offers a warm, natural look to your outdoor kitchen. However, it requires more maintenance than other materials because of the exposure to the elements. Redwood, cedar, and teak are ideal for outdoor use due to their resistance to moisture and insects.
Stone Countertops
Granite and quartz are luxurious options for outdoor kitchens. These materials are durable, resistant to stains and heat, and provide a high-end appearance. Although they require more effort and specialized tools to cut and install, they offer an elegant look that can elevate your space.
Materials You Will Need for DIY Concrete Countertops
Before you start, gather the following materials for your concrete countertops:
- Concrete mix (pre-packaged or ready to mix)
- Mold for the countertop (you can use melamine or plywood)
- Reinforcement mesh or rebar (to strengthen the countertop)
- Concrete sealer (for protection against moisture and stains)
- Trowel (to smooth the concrete)
- Screws and screwdrivers (for the frame)
- Plastic sheeting or plastic wrap (to cover the mold)
- Sandpaper or polishing pads (to finish the surface)
- Concrete bonding adhesive (optional for added strength)
Step-by-Step Guide to DIY Concrete Outdoor Kitchen Countertops
Step 1: Prepare the Mold
The first step in creating your concrete countertop is preparing the mold. The mold is essentially the form that will shape your concrete as it cures. You can make the mold using plywood or melamine, both of which are smooth and won’t stick to the concrete.
- Cut the plywood or melamine to the desired dimensions of your countertop.
- Attach the pieces together using screws to create the frame. Ensure the edges are sealed tightly to prevent any leaks.
- Line the inside of the mold with plastic sheeting to make it easier to remove the cured concrete later.
Step 2: Reinforce the Concrete
Concrete, while strong, can crack under pressure if not reinforced properly. To prevent this, you’ll need to add reinforcement such as rebar or steel mesh to your mold. This will help ensure the strength and longevity of your countertop.
- Lay the rebar or mesh inside the mold, making sure it’s centered within the mold for maximum strength.
- If you’re using rebar, secure it with wire or other fasteners to ensure it stays in place.
Step 3: Mix the Concrete
Mix the concrete according to the manufacturer’s instructions. You can use pre-mixed bags of concrete for ease or mix it from scratch if you prefer. Be sure to mix enough concrete to fill the entire mold.
- Use a mixing container large enough to handle the amount of concrete you need.
- Mix the concrete thoroughly, ensuring there are no dry patches. The mixture should be the consistency of thick cake batter.
Step 4: Pour the Concrete
Once your concrete is ready, it’s time to pour it into the mold. Start by filling the mold with a layer of concrete, and then use the trowel to spread it evenly.
- Pour the concrete into the mold, filling it to the top.
- Use a vibrating tool, or tap the sides of the mold, to release any air bubbles trapped in the mix.
- Smooth the surface of the concrete with the trowel.
Step 5: Let the Concrete Cure
Concrete requires time to cure and harden. The curing process typically takes at least 24 to 48 hours, depending on the thickness of the slab and the ambient temperature. During this time, it’s important to keep the concrete moist to prevent cracking.
- Cover the mold with plastic wrap or a damp cloth to help the concrete retain moisture.
- After 24 hours, you can begin checking the concrete for hardness. It may take a few days for it to fully cure, but you can safely remove it from the mold once it’s hardened enough.
Step 6: Finish the Surface
Once your concrete countertop has cured, it’s time to finish the surface. Concrete countertops can be left with a smooth, polished finish or a more textured, rustic look. Use sandpaper or polishing pads to smooth the edges and surface of the countertop.
- For a smooth, polished finish, use a wet polisher to grind the surface to a fine sheen.
- For a more rustic appearance, you can leave the surface rough or use a texturing tool to create a unique design.
Step 7: Seal the Concrete
To ensure your concrete countertop remains protected from moisture, stains, and other damage, it’s essential to apply a concrete sealer. This will protect the surface from spills, food stains, and water damage, which is especially important in an outdoor kitchen.
- Choose a sealer designed for outdoor use.
- Apply the sealer according to the manufacturer’s instructions, typically in several thin coats.
- Allow the sealer to dry completely before using the countertop.
Recommendation
How To Create a Stunning DIY Fireplace Surround: Step-by-Step Guide
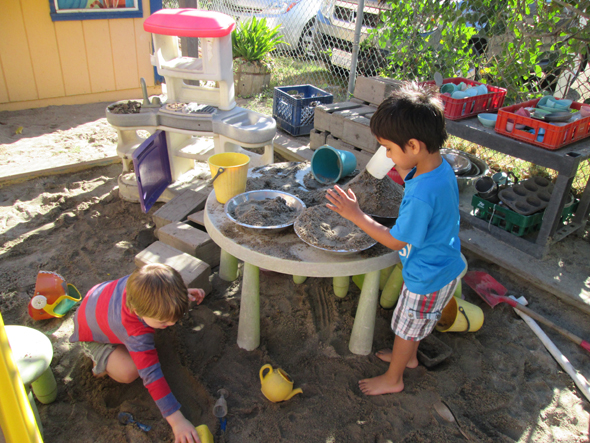
Mud Kitchen for Kids: The Ultimate Outdoor Play and Learning Experience
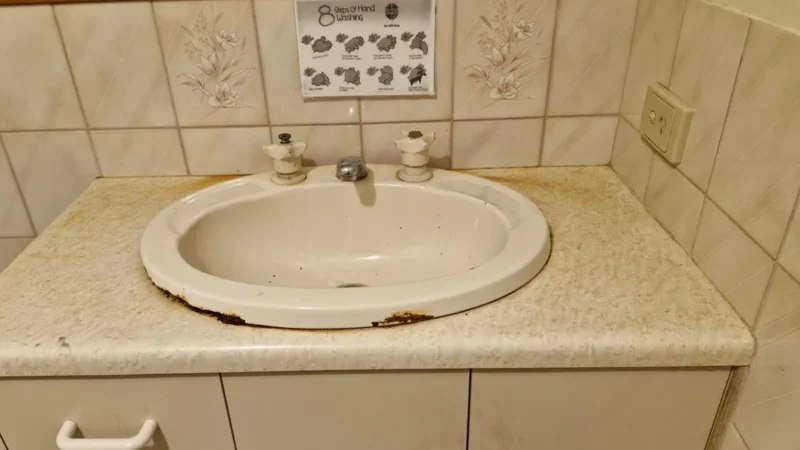
How To Replace A Bathroom Sink?
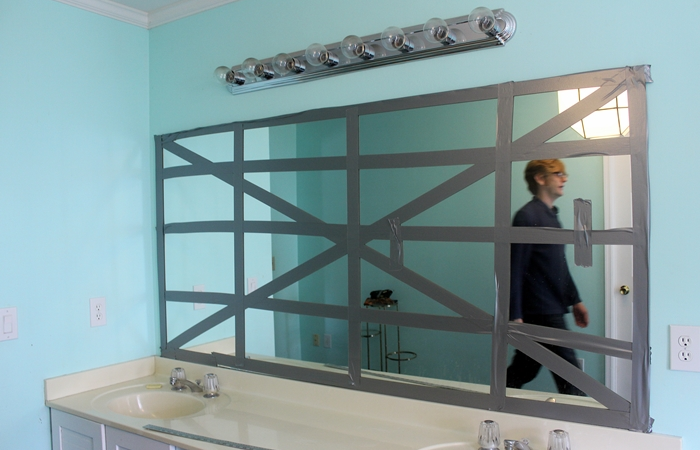
How to Paint Tiles: A Step By Step Guide
Snake Plant Flower – How to Get Your Snake Plant To Bloom
How to Hook Up a Generator to Your House
How Can I Connect a Generator to My House Without a Transfer Switch?
Can A Portable Generator Be Converted To Run On Natural Gas?
FAQs
Q1: How long does it take for concrete countertops to cure?
A1: Concrete countertops typically take 24 to 48 hours to cure enough for removal from the mold. However, full curing can take up to 28 days for the concrete to reach its maximum strength.
Q2: Can I add color to my concrete countertop?
A2: Yes, you can add color to your concrete countertop! Concrete stains or dyes are often used to add rich, vibrant hues. You can also mix colored concrete for a uniform tint throughout the countertop.
Q3: Are DIY concrete countertops durable for outdoor use?
A3: Yes, concrete countertops are highly durable and ideal for outdoor kitchens. When properly sealed, they are resistant to heat, moisture, and stains, making them perfect for cooking and entertaining outdoors.
Q4: Do I need special tools to install a concrete countertop?
A4: You don’t need too many special tools, but a trowel, a mixer, a vibrating tool (optional), and a polishing machine are useful for the process. You can rent these tools if you don’t have them on hand.
Q5: Can I make concrete countertops without professional help?
A5: Yes, DIY concrete countertops are very manageable for most homeowners with basic construction skills. Just take your time with the preparation and curing process, and you’ll achieve professional-looking results.
Q6: How do I maintain my concrete outdoor kitchen countertop?
A6: To maintain your concrete countertop, clean it regularly with a mild soap and water solution. Reapply the sealer every 1 to 2 years, depending on usage and weather conditions, to keep the surface protected.
Conclusion
Creating DIY concrete countertops for your outdoor kitchen is a great way to enhance your space with a durable, custom solution.
By following the steps above and using the right materials, you can achieve a high-end look without the high cost of hiring professionals.
Whether you’re new to DIY projects or an experienced builder, DIY outdoor kitchen countertops offer an achievable and rewarding project for any outdoor cooking enthusiast.”


